There’s something truly magical about baking a small batch of cookies. Not only is it an intimate process with just you and a handful of ingredients, but it also fills your kitchen with the comforting aroma of freshly baked goodness. Moreover, this guide is your ultimate resource for understanding, preparing, and perfecting small-batch chocolate chip cookies.
From their fascinating history to practical tips for baking the perfect batch, we’ve included everything you need to know. So, whether you’re a seasoned baker or a beginner, we’ve got you covered. Let’s dive in and explore the joy of small-batch baking!
Introduction to Baking Small-Batch Chocolate Chip Cookies
Understanding Small-Batch Chocolate Chip Cookies
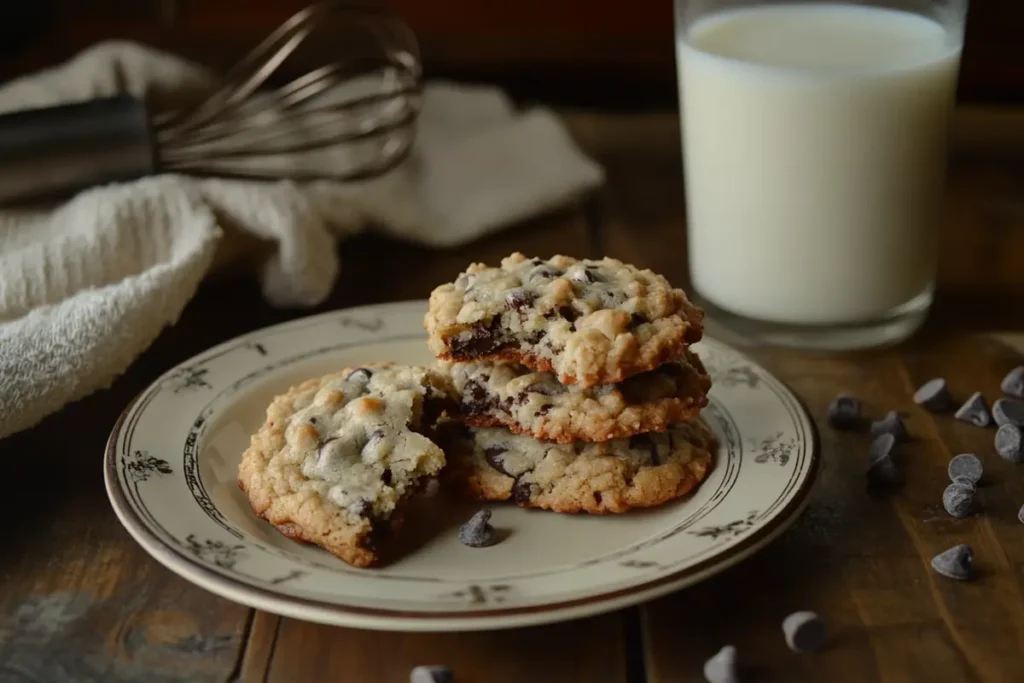
Small-batch chocolate chip cookies are all about simplicity and quality. Designed for moments when you crave something sweet but don’t want dozens of cookies filling your kitchen, these recipes typically yield six to eight cookies—just enough to enjoy fresh, without leftovers turning stale.
What sets small-batch recipes apart is their focus on scaled-down ingredients that still pack a flavorful punch. It’s not just about quantity—it’s about crafting something truly special with the perfect balance of texture and taste.
The Fascinating History of Chocolate Chip Cookies
The origin of chocolate chip cookies is a tale of serendipity. In the 1930s, Ruth Wakefield, co-owner of the Toll House Inn, mixed chunks of chocolate into her cookie dough, expecting them to melt. Instead, they held their shape, and the beloved chocolate chip cookie was born!
Fast forward to today, and these cookies have evolved into an art form. As baking trends shifted, small-batch recipes gained popularity, giving home bakers the flexibility to whip up just enough for their needs—without excess.
Top Advantages of Baking Small Batches of Chocolate Chip Cookies
Why bake a dozen cookies when all you need is a few? Here’s why small-batch baking is a game changer:
- Freshness Guaranteed: Every cookie is enjoyed at its best, without leftovers going stale.
- Less Waste: No excess dough or uneaten cookies—just the perfect amount for the occasion.
- Experimentation Made Easy: Want to try a new flavor combination? Small batches let you test recipes without wasting ingredients.
- Quicker Prep: Smaller portions mean less time mixing, shaping, and baking, making the process hassle-free.
Small-batch baking is the perfect solution for satisfying cravings, experimenting with new flavors, or simply enjoying fresh, homemade treats without excess.
Ingredients and Equipment

Essential Ingredients for Perfect Small-Batch Chocolate Chip Cookies
Creating the perfect small batch of chocolate chip cookies starts with carefully selected ingredients. While the ingredient list is similar to standard cookie recipes, the smaller quantities require precision and quality to shine through.
- Flour: All-purpose flour is the backbone, giving cookies their structure. Measuring it correctly prevents cookies from becoming too dense or crumbly.
- Sugar: A blend of white and brown sugars adds sweetness and contributes to a balanced texture. Brown sugar lends a chewy softness, while white sugar ensures crisp edges.
- Butter: Butter brings flavor and richness, creating that melt-in-your-mouth experience. Always use unsalted butter for better control over salt content.
- Egg: For small batches, half an egg or just an egg yolk is often used. Eggs bind the ingredients and add moisture.
- Baking Soda: This leavening agent ensures a light and airy texture, helping the cookies rise and spread evenly.
- Vanilla Extract: A dash of vanilla enhances the overall flavor profile. Opt for pure extract over imitation for the best taste.
- Chocolate Chips: The star ingredient! More on selecting the right chocolate in the next section.
Quality matters. For small-batch baking, each ingredient plays a significant role in achieving the ideal flavor and texture. Measuring ingredients accurately is crucial for consistent results.
How to Select the Best Chocolate for Small-Batch Cookie Recipes
Choosing the best chocolate for your cookies can elevate them from good to extraordinary. With so many options, it’s important to understand how each type affects the final result.
- Milk Chocolate: Ideal for a sweet, creamy profile but can be too mild for some palettes.
- Dark Chocolate: Offers a rich, slightly bitter flavor that pairs beautifully with the sweet dough. Opt for chocolate with 60-70% cocoa for balance.
- Semisweet Chips: The classic choice for chocolate chip cookies. They’re versatile and provide a satisfying sweetness.
For a gourmet touch, consider using chocolate chunks or chopped chocolate bars. These melt more unevenly, creating pockets of gooey goodness. Brands like Ghirardelli and Valrhona are excellent options for high-quality baking chocolate.
Necessary Baking Equipment
To bake small batches of chocolate chip cookies with ease, a few essential tools are non-negotiable:
- Mixing Bowls: Choose sturdy bowls of various sizes for combining ingredients.
- Measuring Cups and Spoons: Precise measurements are critical for scaling down recipes.
- Silicone Spatula: Perfect for scraping every bit of dough from the bowl.
- Baking Sheet: A heavy-duty, nonstick baking sheet ensures even cooking. Lining it with parchment paper prevents sticking.
- Cookie Scoop: Helps portion dough evenly for uniform cookies.
Optional tools like a hand or stand mixer makes mixing easier but aren’t necessary. For best results, always preheat your oven and prepare your tools before starting.
The Baking Process for Small-Batch Chocolate Chip Cookies
Step-by-Step Guide to Baking the Perfect Small Batch of Chocolate Chip Cookies
Ready to bake the ultimate small-batch chocolate chip cookies? Follow these detailed steps to create your own mouthwatering treats, ensuring success at every stage of the process.
1. Prepare and Measure Ingredients for Small-Batch Cookies
First, measure and organize all ingredients to streamline the process. Additionally, ensure the butter is softened and the eggs are at room temperature for optimal mixing. Accurate measurements are key to consistent results.
2. Mixing the Wet Ingredients for Small-Batch Cookie Dough
In a bowl, cream together the butter and sugars until the mixture is light and fluffy. Then, add the egg yolk and vanilla extract, mixing thoroughly until everything is well combined. Proper mixing ensures a smooth, flavorful dough.
3. Combining Dry Ingredients for Small-Batch Chocolate Chip Cookies
Meanwhile, in a separate bowl, whisk together the flour, baking soda, and a pinch of salt. Gradually incorporate the dry mixture into the wet ingredients, stirring gently to ensure even blending.
4. Folding in the Chocolate Chips for Even Distribution
Once the wet and dry ingredients are combined, gently fold in the chocolate chips using a spatula. This step ensures the chips are evenly distributed throughout the small-batch dough without breaking.
5. Chilling the Dough for Better Small-Batch Cookies
Cover the dough and refrigerate it for 20–30 minutes. Chilling helps enhance the flavor and prevents excessive spreading during baking.
6. Preheating the Oven and Preparing the Baking Sheet
While the dough chills, preheat your oven to 350°F (175°C). Then, line a baking sheet with parchment paper to ensure even baking and prevent sticking.
7. Shaping and Portioning Small-Batch Cookie Dough
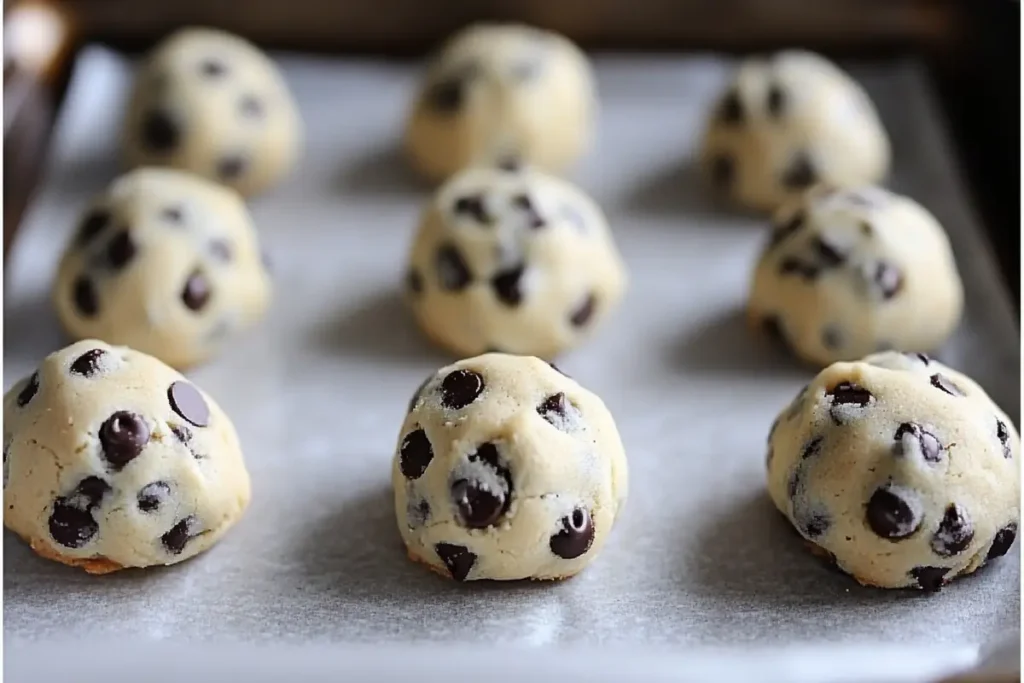
Use a cookie scoop to form evenly sized dough balls. Place them on the prepared baking sheet, leaving about 2 inches of space between each ball to allow for spreading.
8. Baking Small-Batch Chocolate Chip Cookies to Perfection
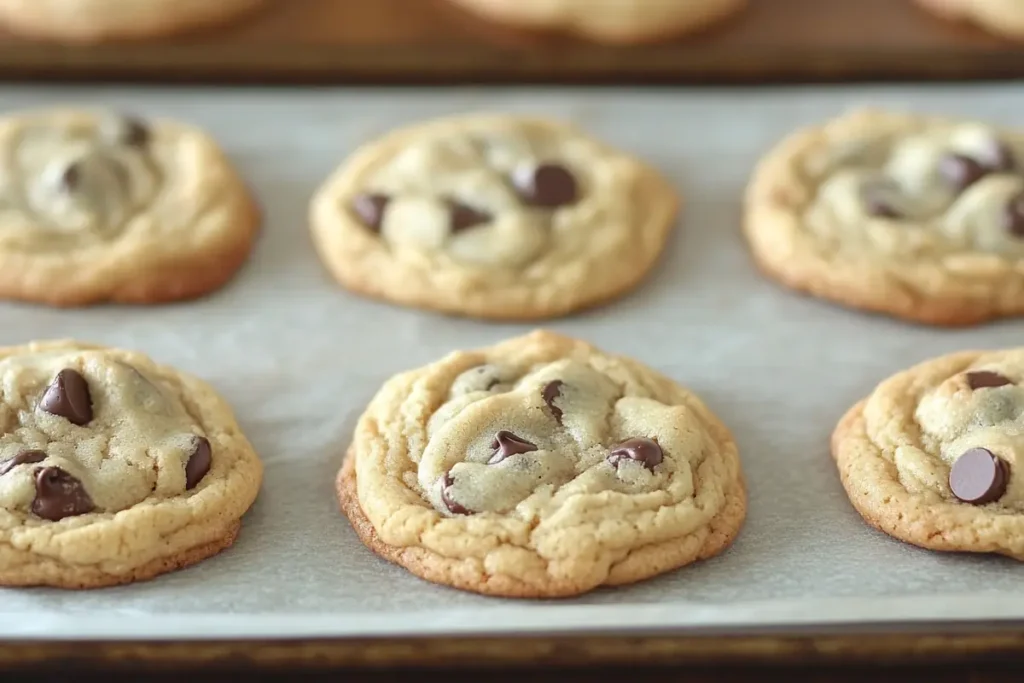
Bake the cookies for 8–10 minutes, keeping a close eye on them as they bake. Look for edges that are golden brown while the centers remain slightly soft.
9. Cooling and Enjoying Freshly Baked Small-Batch Cookies
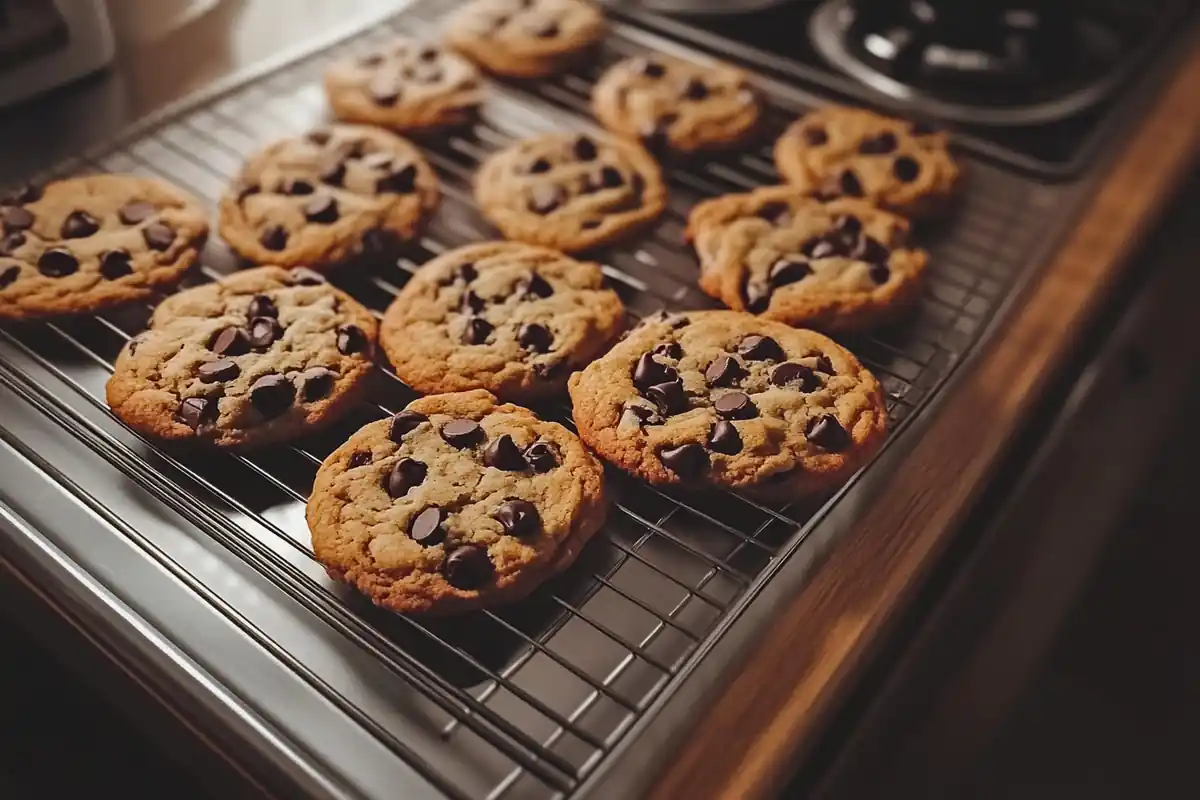
Finally, let the cookies cool on the baking sheet for 5 minutes before transferring them to a wire rack. This step ensures the cookies are set properly and achieve the perfect texture. Enjoy your freshly baked treats!
The Importance of Ingredient Temperature in Small-Batch Baking
Temperature plays a pivotal role in baking success. Softened butter incorporates better into the dough, while room-temperature eggs mix more evenly.
- Butter: If too cold, butter won’t cream properly, leading to dense cookies. If melted, the dough becomes greasy, causing excessive spreading.
- Eggs: Cold eggs can cause the dough to seize, while room-temperature eggs mix seamlessly for consistent results.
Essential Mixing Techniques for Small-Batch Cookies
Mixing is more than just blending ingredients; it’s about precision and care.
- Creaming Butter and Sugar: Properly creamed butter traps air, creating a light, fluffy dough.
- Gentle Folding: Overmixing activates gluten, leading to tough cookies. Stop mixing once the ingredients are just combined.
- Chocolate Chips: Add them last and fold gently to prevent breaking.
Shaping and Portioning Dough for Small-Batch Cookie Baking
Uniform cookie sizes ensure even baking. A small cookie scoop or spoon works wonders for portioning. Roll the dough gently into balls for a professional look.
Spacing is critical—leave at least 2 inches between cookies to allow them to spread without merging.
Perfecting Baking Time and Temperature for Small-Batch Cookies
The perfect bake depends on precise timing and temperature.
- Oven Temperature: Preheat to 350°F for even cooking. Use an oven thermometer for accuracy.
- Baking Time: Bake for 8–10 minutes, checking frequently after 8 minutes.
- Signs of Doneness: Look for golden edges with slightly soft centers.
Remember, cookies continue to bake on the sheet after being removed from the oven. Cool them completely before storing to preserve their texture and freshness.ember, cookies continue to bake on the sheet after being removed from the oven. Cool them completely before storing to preserve their texture.
Flavor Variations and Add-ins
One of the greatest joys of baking small-batch chocolate chip cookies is the freedom to experiment with flavors. In fact, adding a personal touch can effortlessly transform a classic cookie into something truly unique.
- Nuts: For instance, chopped pecans, walnuts, or almonds not only add a delightful crunch but also complement the sweetness of the dough. Moreover, toasting the nuts beforehand can intensify their flavor.
- Spices: Similarly, a pinch of cinnamon or nutmeg adds warmth to the cookies, while a hint of cayenne can create an unexpected kick for adventurous bakers.
- Alternative Sweeteners: Alternatively, swapping traditional sugar with coconut sugar or honey can bring a nuanced sweetness to your cookies.
- Mix-ins: Additionally, mix-ins such as mini marshmallows, shredded coconut, or dried fruit (like cranberries) can introduce layers of texture and taste.
- Extracts: Finally, for a completely different flavor profile, replace vanilla with almond or peppermint extract to give your cookies a refreshing twist.
However, balancing these additions is crucial. For every cup of dough, it’s important to limit add-ins to about ½ cup. This ensures the cookies bake evenly and maintain their ideal structure.
Making the Recipe Vegan or Gluten-Free
Baking for dietary preferences or restrictions doesn’t mean you have to sacrifice flavor or texture. On the contrary, a few smart substitutions can turn this small-batch recipe into a vegan or gluten-free masterpiece with ease.
- Vegan Adjustments: For vegans, replace butter with plant-based alternatives such as vegan margarine or coconut oil. Furthermore, swap the egg with a flaxseed meal mixture (1 tbsp flaxseed meal + 2.5 tbsp water = 1 egg).
- Gluten-Free Flour: If gluten-free is your goal, use a gluten-free flour blend specifically designed for baking. Brands like Bob’s Red Mill work exceptionally well without compromising texture.
- Alternative Chocolates: Additionally, many high-quality dark chocolates are naturally vegan and gluten-free. Therefore, be sure to check for brands labeled accordingly.
When making these substitutions, it’s essential to taste-test the dough to ensure it retains its sweetness and richness. Since gluten-free flours tend to absorb more moisture, adding a touch of extra liquid might be necessary to achieve the right consistency.
Storing and Preserving Freshness

Even in small batches, storing cookies properly ensures they stay fresh and delicious.
- Storing Baked Cookies: First, place your cookies in an airtight container to keep them soft and flavorful. Additionally, adding a slice of bread to the container can help maintain their softness for up to a week.
- Freezing Dough: Alternatively, you can portion the dough into balls and freeze them on a baking sheet. Once frozen, transfer the dough balls to a freezer bag. The best part? You can bake them directly from frozen—just add 1–2 minutes to the baking time.
- Maintaining Texture: To preserve the perfect texture, keep your cookies away from moisture and direct sunlight. This will help prevent them from becoming stale or soggy.
For the ultimate fresh-out-of-the-oven experience, consider baking just a few cookies at a time while saving the rest of the dough for later. This way, you’ll always have warm, freshly baked treats ready to enjoy! oven experience, bake just a few cookies at a time, saving the rest of the dough for later.
Frequently Asked Questions
How can I prevent my cookies from spreading too much?
Using chilled dough is the key! Refrigerating the dough for at least 20–30 minutes firms up the butter, reducing excessive spreading during baking. Additionally, ensure your baking sheet isn’t warm when placing the dough balls.
Can I double this small batch recipe?
Absolutely! To double the recipe, simply multiply all ingredients by two. However, keep in mind that small-batch recipes are designed for precision, so ensure accurate measurements for consistent results.
What’s the best way to melt butter for this recipe?
Melt butter in short intervals in the microwave or on low heat in a saucepan. Allow it to cool slightly before mixing it with other ingredients to prevent altering the dough’s texture.
How do I know when the cookies are done baking?
Look for edges that are golden brown and centers that appear slightly underbaked. Cookies continue to cook on the baking sheet after being removed from the oven, so don’t wait for the centers to firm up entirely.
Can I use this recipe to make larger cookies?
Yes! Simply scoop larger portions of dough and adjust the baking time by a few extra minutes. Keep a close eye on the cookies to avoid overbaking.
Conclusion:

Baking small-batch chocolate chip cookies is a delightful experience that not only combines convenience, creativity, and quality but also offers a chance to indulge in something special. From selecting the best ingredients to mastering the perfect bake, this guide has comprehensively covered all the essentials to ensure you achieve delicious results every single time.
Moreover, the beauty of small-batch baking lies in its incredible flexibility. Whether you’re experimenting with unique flavors, adjusting recipes to suit dietary needs, or simply craving a quick and satisfying treat, these cookies are both easy to make and deeply rewarding to enjoy.
Now it’s your turn—grab your mixing bowl, unleash your creativity, and let the irresistible aroma of freshly baked cookies fill your kitchen. Most importantly, don’t forget to share your creations and experiences; after all, there’s nothing more satisfying than inspiring others with your baking adventures!

